My Husband's Birthday

This week, we celebrated my husband's 30th birthday. Hard to believe he's finally joining me in the thirties! We went out to dinner at our favorite restaurant to celebrate, and I got some balloons, a bag of Cool Ranch Doritos, and a can of Pibb for decoration. If you knew my husband, you would understand the Doritos and Pibb, so for those who don't: the Doritos are in honor of sticking to good eating habits for six months now, and the Pibb is in celebration of his vow to not drink any Pibb (his favorite pop) from the beginning of the year to his birthday--six and a half months, a big commitment for him. He got to enjoy some old favorites on his birthday! We were up to visit my family over the weekend, and while we were up there, we celebrated his birthday with a golf-themed ice cream cake from Baskin Robbins. We had a few days of birthday celebration for him, but he left for a business trip the day after his birthday. :(
An Owl for My Sister:
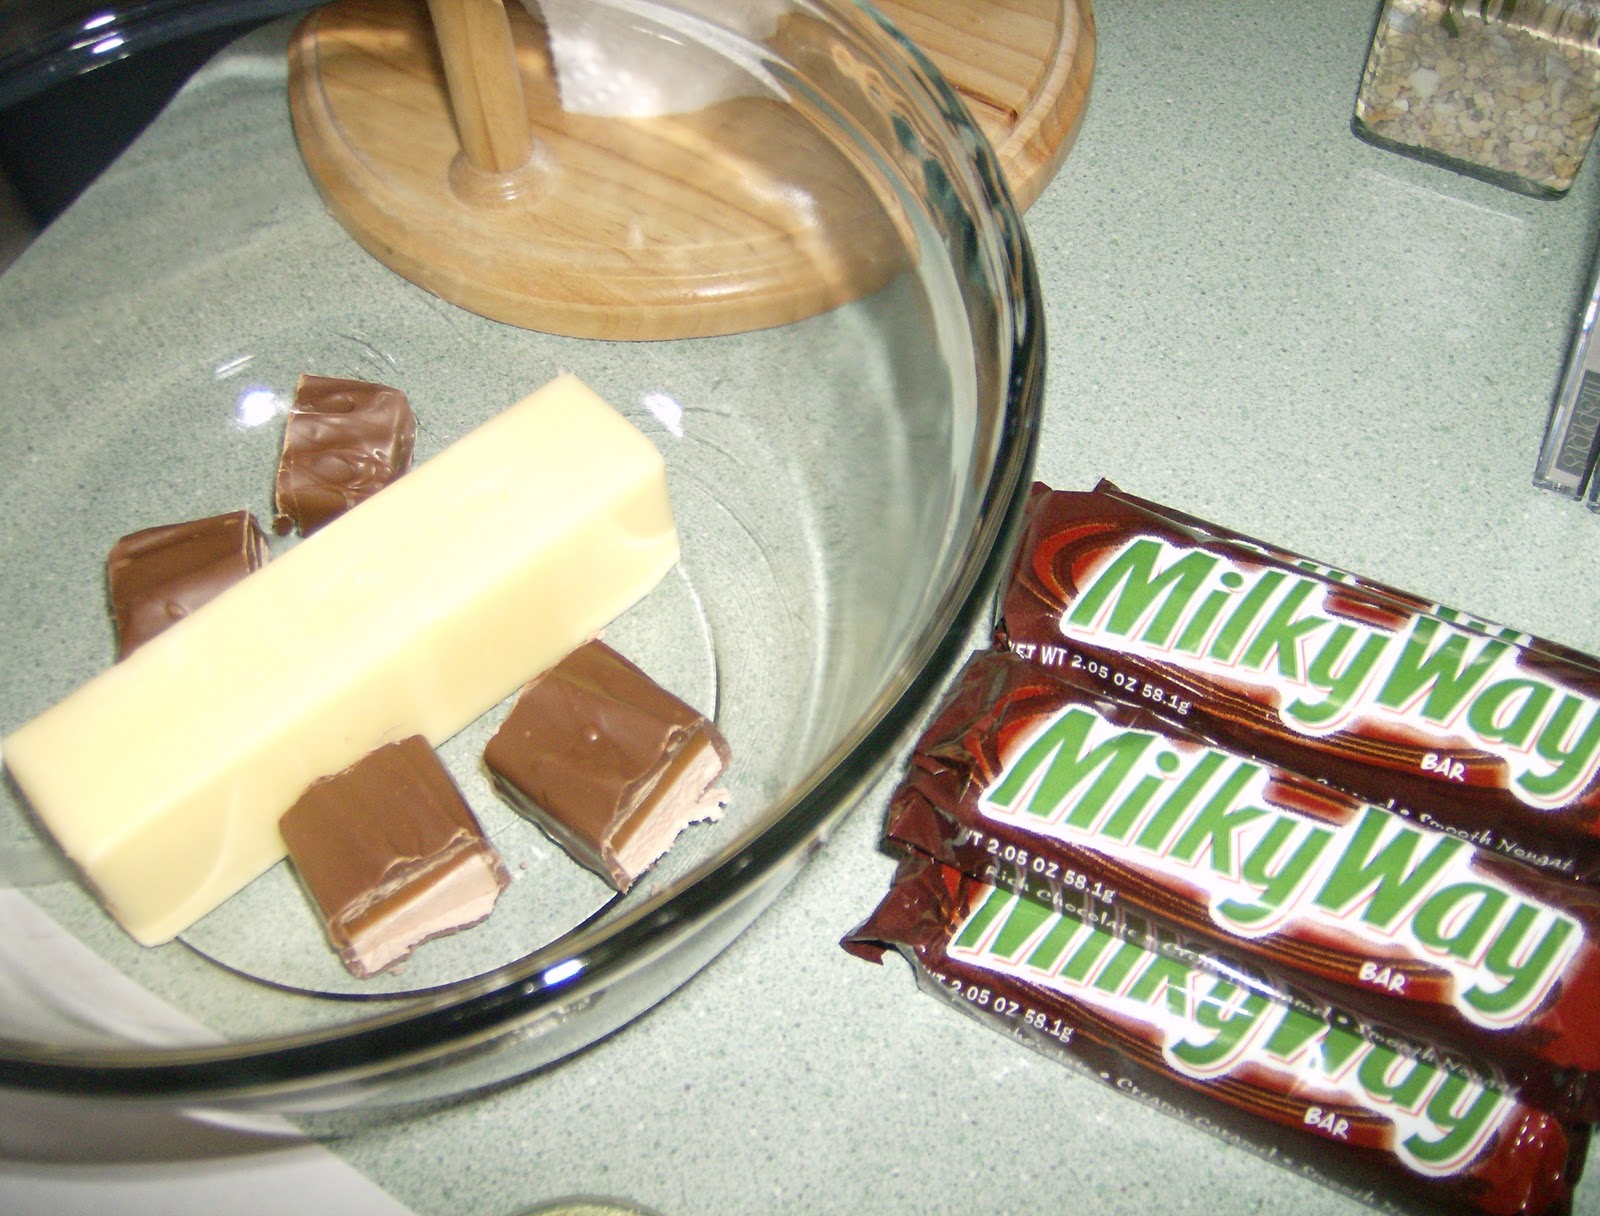
Crescent Roll Pockets
So, at work today, I was trying to figure out what I was going to do with the half of the can of crescent rolls that I would have left over after I made a pot pie for dinner. Then I had an idea. I decided to try making them into chocolate-stuffed and cinnamon-sugar-stuffed pockets! Below are the steps and recipe for the creation I call "Crescent Roll Pockets":
First, create four rectangles from pinching the seams together of each set of triangles, like in the picture above.
Pat the rectangle out and make it more uniform in shape, if necessary. For the picture above, I sprinkled about a teaspoon of cinnamon on the dough, then roughly 1-2 tablespoons of semi-sweet chocolate chips.
For this crescent pocket, I decided to try and make it cinnamon-sugary. I spread butter over the dough, then mixed 1/2 tablespoon of cinnamon and 1 tablespoon of lightly-packed brown sugar in a bowl, then spread it over the butter. You can certainly experiment and create whatever flavors you want! Just be sure to leave an edge around the dough for sealing.
To fold the dough, follow the steps in the pictures above, and when you've folded all of the sides in, pinch the seams together on the top to seal and keep the stuffings in. Bake them in a preheated 375 degree oven for about 15 minutes or until they are golden brown, then remove them from the oven and let them cool for about 10 minutes.
While the pastries are cooling, make the glaze: 1/4 to 1/2 cup of powdered sugar, 1 to 2 tablespoons of milk, and about 1/4 teaspoon of vanilla extract. Mix all together in a small bowl, adding milk a little at a time until you get your desired consistency for the glaze.
When the pockets are cooled, drizzle the glaze over the top. Then, grab a fork and enjoy! You're welcome.
A Loss in the Family
I mentioned earlier that we were up to visit with family over the past weekend. The reason was because my uncle, my mother's brother, passed away from an illness. It was a sad time, for obvious reasons. He was always a good uncle to us, and he was always nice to us. I have many good memories of him, and he was a neat man. He liked to dabble in all sorts of hobbies: he tried growing crops, he did canning, he created barbecue sauce, he brewed his own raspberry wine, he restored antique telephones, he sold Christmas trees, and just generally seemed to enjoy life. He seemed to succeed in anything he tried to do! He even gave us one of his phones a few years ago, and it's been a prized possession of ours ever since. Now, it's something that will always remind us of him every time we see it hanging on the wall in the kitchen. My husband didn't know him extremely well, but he always enjoyed the times that we were able to visit with my uncle. Please pray for my uncle's children, grandchildren, my mom, and my mom's other brother, who are still grieving, but are glad for the time they were able to spend with him on earth.

Sad Garden
Sad, sad, sad. It's certainly struggling under the severe conditions that seem to have settled over this part of the country. While I water whenever I can, it doesn't seem to help that much. There's such a difference in the plants when it rains, as opposed to a good soaking from the hose. Though I would love to have a rain barrel, and not have to use chemically-treated city water in the garden, a rain barrel does no good if there has been no rain! Everything is still alive, but it seems that the hot sun beating down all day just makes them so droopy. It's cloudy now, and there is rain in the area, so here's hoping for a good soaking from mother nature!
 |
| A blossom on my pumpkin plant |
 |
| My heirloom chocolate cherry tomato plant--hoping to keep some of the seeds and do it again next year |
 |
| Rain's a-comin'! |
I feel like some days are a real struggle. Life is hard, even though we have all of these incredible conveniences today. The world is not a friendly or nice place, so we take comfort and refuge with family and friends that we love. And that's not a bad thing; we are meant to have relationships with the people around us. But are we building the kind of relationship that we need to have with the One who created us? He loves us more than we can imagine! He will give us strength to endure each day, each hour, each trying minute of our lives. The trials and grief, along with the joys of life, all work to mold us into the person that He wants us to become. "Therefore we do not lose heart, but though our outer man is decaying, yet our inner man is being renewed day by day. For momentary, light affliction is producing for us an eternal weight of glory far beyond all comparison, while we
look not at the things which are seen, but at the things which are not
seen; for the things which are seen are temporal, but the things which
are not seen are eternal." 2 Corinthians 4:16-18.