
Now that I can't eat regular butter without feeling like a nauseated bloated cow, I have a LOT of butter in my freezer looking for a reason to live. (Note: allow frozen butter to come to room temp before clarifying.)
Enter: clarified butter.
The process is easy enough: just heat the butter on the stove, skim off the white whey foam, and leave the casein in the bottom of the pan. Knowing that those proteins give me problems, but still wanting to use butter for cooking, I thought to myself, 'Self, clarified butter may be an option!' After doing a little internet research, I felt confident to try making it myself.
I set to work clarifying the butter:
I melted four sticks (2 cups/16 ounces) by cutting it into pieces and turning the burner on low while I did a few other kitchen tasks. Butter melts quickly, so it didn't take long for the pieces to melt and the whey to float to the top.

Look at all of that whey!
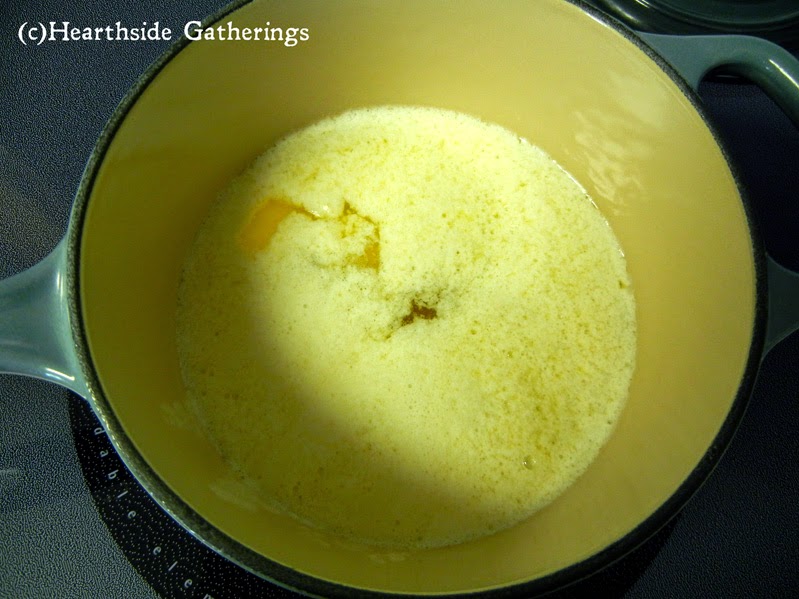
I skimmed out most of it, and I learned that you'll always scoop a small amount of butter out along with the whey, no matter how careful you are. Sad, but true. You also have to be careful not to stir the butter and mix together everything that you've just separated.

Line mesh strainers with at least four layers of cheesecloth. More layers will catch more impurities, so it's best to not be stingy here. Set the strainers over a large bowl with a pour spout and pour the butter through the strainer.

As you can see, the first strain still left some whey.

 |
| You can see the brighter color of solids at the bottom--I circled it in the photo below. |

I lined another mesh strainer with eight layers of cheesecloth this time, and poured the contents through the second strainer, holding back once I saw the layer of casein at the bottom. Only a very small amount made it into the second strain, and no whey made it through.


One thing to note: storing the clarified butter in a jar like this is not the easiest method for getting butter out. I've purchased these molds on Etsy from Cannaware. You can see that not only do they make sticks of butter like you can buy at the store, but they also have tablespoon measurements on the side to make life easier. After I clarify my butter, I can make them into sticks for easier storage, access, and measuring. Win!
No comments:
Post a Comment
Thanks for your comment! Your input is appreciated. Don't worry, it'll post soon. Have a good day!