Just as tiny seedlings must struggle against the weather and nature to survive and finally provide nourishing fruit, so must we also brave the storms of life to become fruit-bearing children of God: "But the fruit of the Spirit is love, joy, peace, patience, kindness, goodness, faithfulness, gentleness, self-control; against such things there is no law." Galatians 5:22-23
Here is an update on the tomato seedlings: Tomato Seedling Surgery 2.0
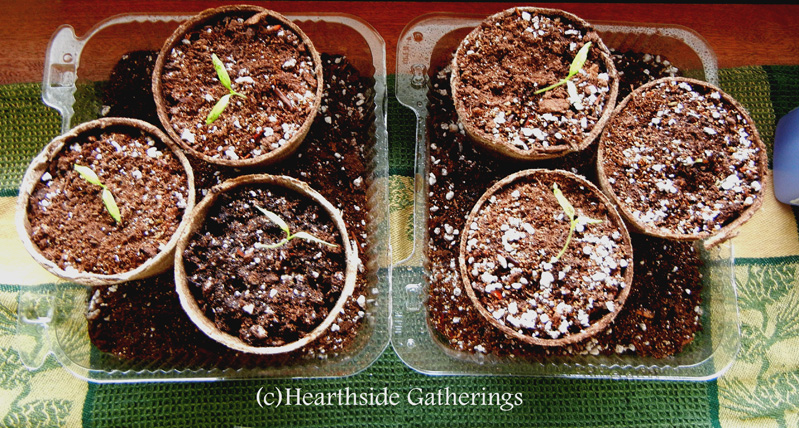
I finally got a chance today to transfer my tomato sprouts to their grown-up pots. It seemed fitting, since it is finally spring and yet another snowstorm is bearing down on us. I only had three pods that sprouted anything, but those three pods gave me six plants. I've never had all of the seeds planted in the pods start growing, so I decided to split those plants into their own pots.
Here's what I did: I spread newspaper over the countertop, then assembled my supplies: Jiffy biodegradable planting pots, available at any garden center; planting soil mix, a take-out plastic container, with the bottom and lid cut into separate trays, and your seedlings. If you have a spray bottle that can spray fine mist, you'll probably want one of those with you, and if you have a small pair of scissors that you don't mind getting dirty, grab those too.
I took my first peat pod and seedling and cut the netting around the peat. I pulled it down, but didn't pull it off (there was no need-there was only one seedling in there). Simply fill the planting pot about half full with planting soil, stick your seedling inside, and fill the rest of the way with dirt. I like to bury a little extra of the seedling to give it added stability.
For the pods that had multiple seedlings, I cut the peat pod netting completely off, and VERY GENTLY crumbled the peat into the planting pot. The seedlings don't have deep roots, and they weren't grown together, so I simply (and again, GENTLY) pulled them apart. I filled the pots at least halfway with soil and planted each seedling at about half or three-quarters depth, then poured more soil around it, mounding it a bit to give the seedling a little bit of support. I did this for all multiple seedlings.

I spread planting soil in a thin layer across the bottom of both trays, then sprayed it with my spray bottle. I wanted it damp, but not wet. I also sprayed all of the pots with the sprayer, to dampen the soil. Then I watered everything well and placed the trays in the window with the most light, as well as a heating register to provide added warmth. Our house stays at about 65-68 degrees in the winter, so it should be warm enough, but any added warmth is always good. Now, we wait and see how the surgery went.

Since transplanting things a few hours ago, I've seen some drooping in some of the seedlings. I'm aware that any type of transplanting causes a plant stress, and I'm hoping that they make it through this. I'm bringing this up because I hope that by sharing my experiences, others can learn from my trials and errors. Some things work, and others don't. I didn't grow up knowing how to plant and grow things--I'm a city girl! I didn't have grandparents or other relatives who showed me what farm life is like. I know that there are others who are in the same boat. I'm learning about gardening as I go...er, grow!
Who survived the transplant? Click here to see the post:
Happy Easter


No comments:
Post a Comment
Thanks for your comment! Your input is appreciated. Don't worry, it'll post soon. Have a good day!